
light boxes are the key to taking your product photos up a level, but they can be pretty pricey. here's a quick tutorial to create your own at home!
what you'll need:
- a cardboard box larger than the products you'll be photographing
- scissors
- x acto knife (or a regular knife)
- tissue paper (preferably white)
- tape
how to do it:
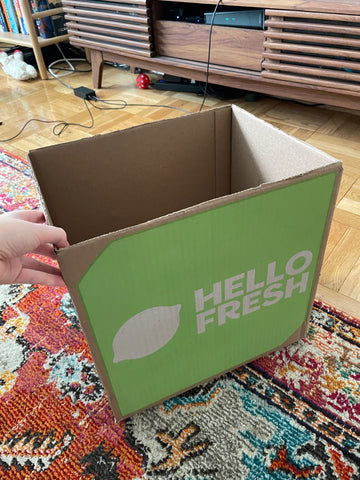
find a box that will fit your products
first things first, you'll need to find a box that will fit the products you'll be photographing -- which will be different for everyone. i chose a box that's bigger than my current products so i had some wiggle room for future products.
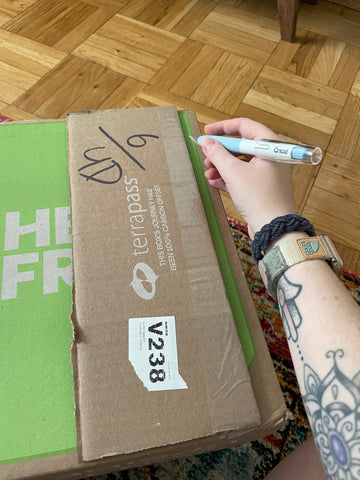
cut the flaps off your box
 .
. 
cut the flaps off your box so you're left with the walls, bottom, and an empty top. leave the bottom taped if it already is, but take any tape off the sides that is left from where the flaps were.
use an x acto knife (or a regular knife) to cut windows 1/2 in to 1 in from the edge in the left, top, and right side of the box
 .
. 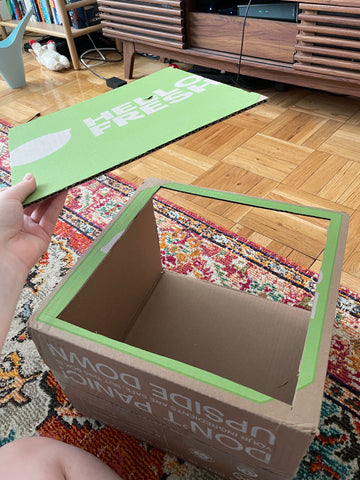
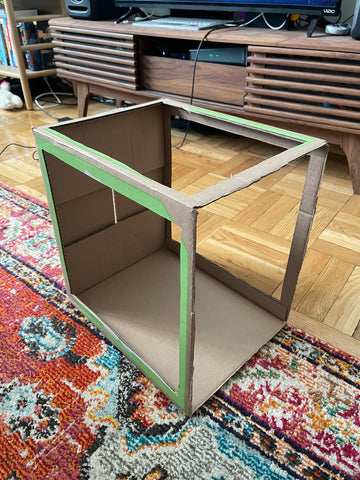
decide what wall you want to be the bottom of your light box. for me, my box wasn't a perfect cube so i chose one of the smaller sides to be the bottom so that i could fit taller products eventually. you want to cut windows in the box, so be sure to leave 1/2 in to 1 in of clearance between the edge and the cut you're making! i used one of the flaps i cut off before to help me make straight cuts. remember that once you have a side or two cut out, the box will be a lot more flimsy so don't put too much weight on it when you're making your cuts or it'll buckle and lose it's rigidity. when you're done, it should look like this:
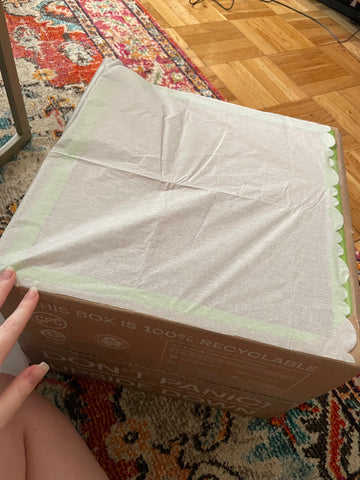
tape your tissue paper over the three windows you just cut out
ideally you'll want to use white tissue paper here since it will diffuse the light. if you use a colored paper, it will diffuse the light to that color and add that tint to your photos. white is a nice neutral because you can always add colored backgrounds or extras to your photos but if you want all of them to have a colored tint, colored tissue paper is the way to go!
now this is where things get more difficult... start by taping one edge of the tissue paper down and pull it tight as you tape down that entire edge. then do the same thing on another edge, pulling it taut as you tape it down, and do this for all the edges. once you have one done, repeat it for the other two windows until it looks like this:
decorate it as you wish!
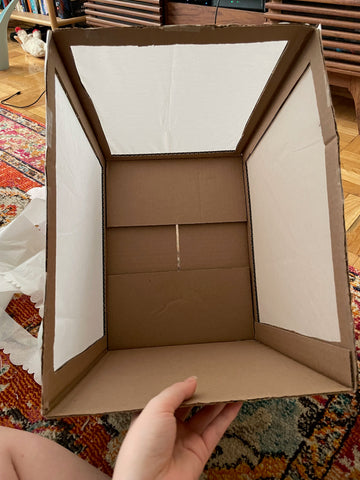
you can make different inserts for the box for different backgrounds. a good generic one is white poster board -- for that you'll need to cut the width of it down to the width of your box and the length to one and a half the length of the bottom panel. when you insert it, push it up to the top corner and the bottom of it flush with the bottom of the box. this will create a curved background that will look seamless in photos!
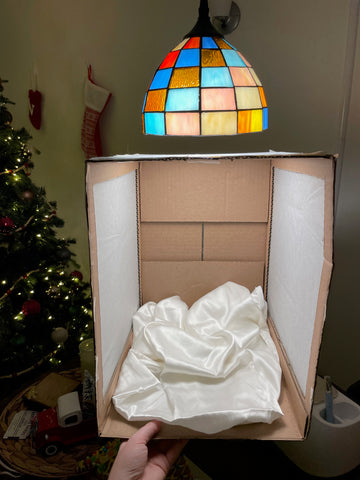
you can also use fabrics like in the below photo or add other objects like flowers, jewelry, trinkets for more elaborate photos.
light sources...
now you can use any light sources for your photos since the tissue paper will diffuse it and prevent any harsh shadows! i've used my plant lights for photos and my kitchen lamp as well and they all create a beautiful lighting in the box!